In the realm of restorative dentistry, inlays and onlays stand out as versatile solutions for repairing damaged or decayed teeth. But have you ever wondered how these custom-made restorations are fabricated and placed in the mouth? Let’s delve into the intricate process behind the creation and installation of inlays and onlays.
1. Assessment and Treatment Planning:
Before diving into the fabrication process, a thorough assessment of the tooth’s condition is conducted. This typically involves a comprehensive examination, X-rays, and sometimes, digital impressions. Based on the assessment, the dentist determines whether an inlay, onlay or another treatment option is most suitable.
2. Tooth Preparation:
Once the treatment plan is established, the affected tooth is prepared to receive the inlay or onlay. This involves removing any decayed or damaged portions of the tooth and shaping it to accommodate the restoration. Unlike traditional fillings, which often require more extensive removal of healthy tooth structure, inlays and onlays are designed to conserve as much natural tooth material as possible.
3. Impression Taking:
With the tooth prepared, the next step is to take an impression of the tooth and surrounding area. This can be done using traditional putty-like materials or advanced digital scanning technology. The impression captures the exact dimensions and contours of the tooth, providing the dental laboratory with the necessary information to create a custom-fitted restoration.
4. Fabrication of the Restoration:
The impression is sent to a dental laboratory, where skilled technicians use it as a blueprint to fabricate the inlay or onlay. Depending on the chosen material—such as porcelain, composite resin, or gold—the restoration may be milled from a block of material using computer-aided design and manufacturing (CAD/CAM) technology or handcrafted by the technician.
5. Temporary Restoration (if needed):
While the permanent restoration is being fabricated, a temporary filling or restoration may be placed on the prepared tooth to protect it from further damage or sensitivity.
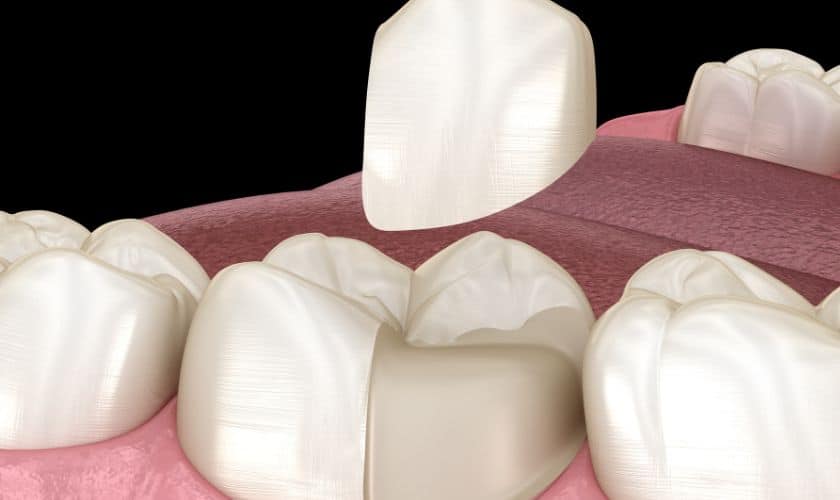
6. Final Placement:
Once the custom restoration is ready, it is time for the final placement. The dentist carefully checks the fit, shape, and color of the restoration to ensure optimal aesthetics and functionality. Any necessary adjustments are made before the restoration is permanently bonded to the tooth using dental cement.
7. Polishing and Finishing:
After the restoration is bonded in place, the dentist polishes it to smooth out any rough edges and ensure a natural-looking finish. This final step enhances the appearance of the restoration and helps prevent plaque buildup, promoting long-term oral health.
Conclusion:
Inlays and onlays play a vital role in restorative dentistry, offering durable and aesthetically pleasing solutions for repairing damaged or decayed teeth. The fabrication and placement process involves meticulous planning, precise execution, and attention to detail to ensure optimal outcomes for patients. By understanding the steps involved in creating and installing inlays and onlays, patients can appreciate the craftsmanship behind these custom-made restorations and the transformative impact they have on their oral health and confidence.